Tag Archives: Fermenting

Sauerkraut with my Mom

I love sauerkraut. Besides its delicious taste and many health benefits, it is also, in a way, the reason that I began this blog.

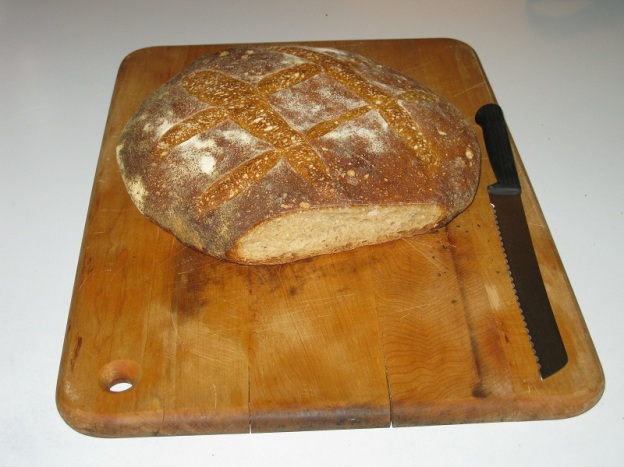
It all started several years ago, when I was not working and bored out of my skull. In an effort to be productive, I started making some of my own food. I baked some bread, and posted the effort on my social media. I caught and cooked fish, and shared that. Then I made sauerkraut.

This involved a lot of explanation and photos, and by the time I was done, I had a small story posted on my social media page. I decided then that a blog would be a better platform for sharing my adventures, so I started writing longer stories, with more pictures, and The Homesteading Hippy was born.

Fast forward a few years, and I may be neglecting my blogging duties, but my adventures continue.

IMG_2813_Small(Click to see larger Image)

I would like to interject here with a shout-out to the grandfather of modern sauerkraut, Genghis Kahn of Mongolia. Besides possibly being a direct ancestor to one out of every twenty of us in the world (more like one in ten in Europe), he is also responsible for a major culinary tradition. While people have been fermenting vegetables for a long time, Sauerkraut the way we think of it today was unheard of in Europe until dear Genghis, according to one form of the story, introduced it from Asia, where it had originally been invented in China.

During a recent visit to my parents, who inspired my interest in home-grown food (see their beekeeping blog here), my mother and I decided to make sauerkraut. She had received a fermentation jar with an airlock, and the first batch of sauerkraut had turned out wonderfully. But, as it had run out some time back, it was time to make more. We tried a slightly more advanced recipe this time, using a German-inspired recipe.

IMG_2804_Small(Click to see larger Image)

It turns out that while Sauerkraut is loved throughout northern and eastern Europe, as well as parts of Asia, each region has its own traditional recipes. In eastern Europe, for example, they make a slightly sweeter variant that also includes shredded carrots. In Korea, there is kimchi (a whole other monster; I love it, but it’s not for everyone). In Germany, one of the local ingredients is juniper berry.

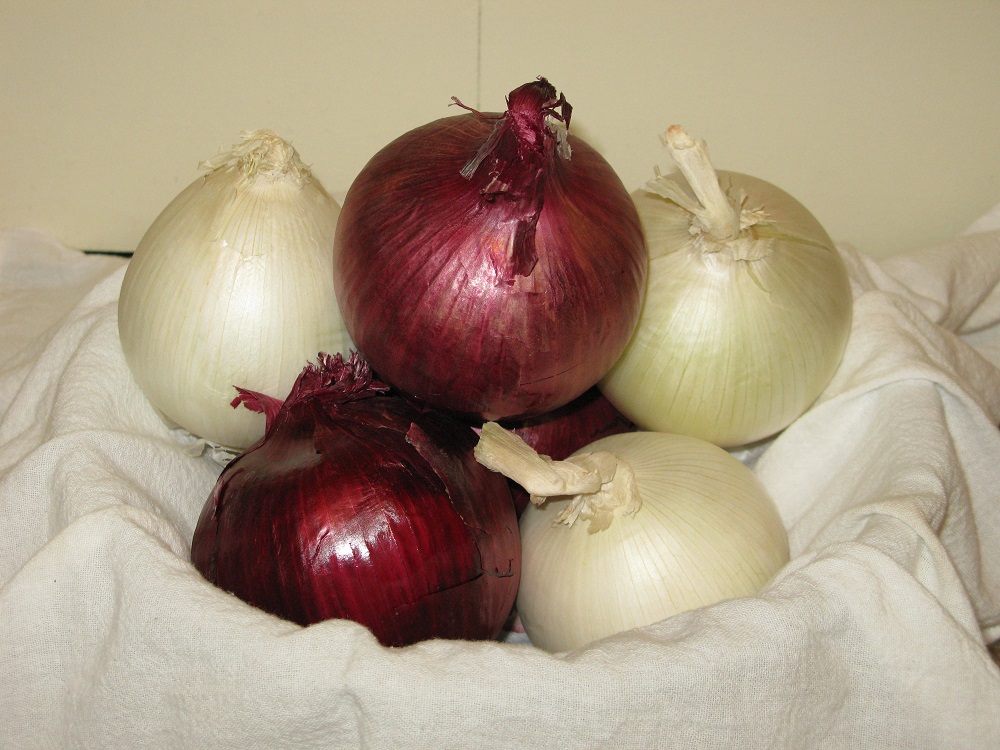
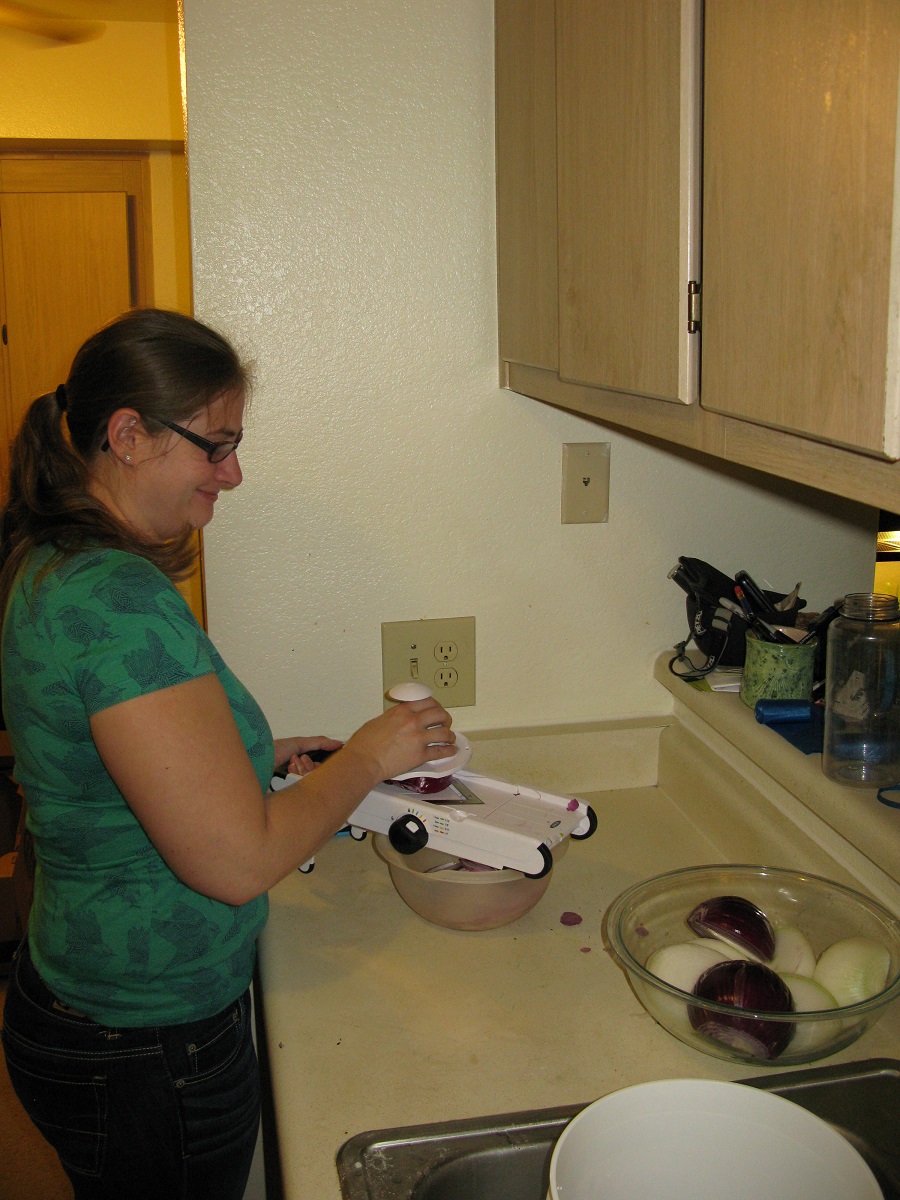
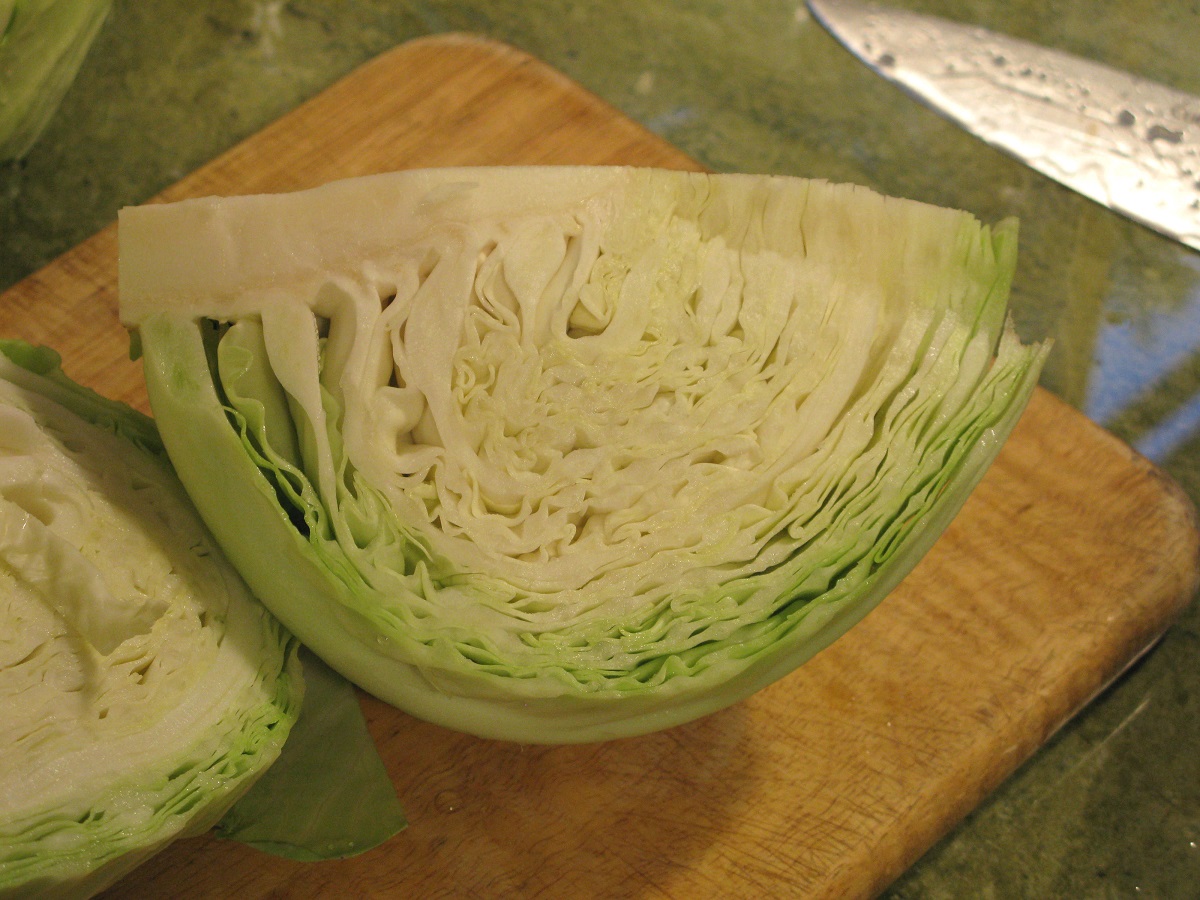
Off we went to the local health food store, bought a cabbage and a few tablespoons of juniper and carraway, and went to work.

IMG_2819_Small(Click to see larger Image)

We first mixed the spices with a rather large amount of salt. For five pounds of cabbage, we used 1/3 cup salt, a tablespoon of juniper berries, and ½ tablespoon of carraway seeds. As I have mentioned in previous posts, salt creates an environment in which the only organisms that can thrive are the lactic acid bacteria that we want. They will ferment the cabbage and pickle it into sauerkraut

Next, we shredded the cabbage. During my first attempt, I did it all by hand using a knife, but we saved some time by using the grater attachment on a food processor. Into the fermentation jar went a layer of cabbage, followed by a generous sprinkling of salt and spices, and then more cabbage, etc. Each layer was firmly pushed down to the bottom of the jar.

IMG_2817_Small

(Click to see larger Image)

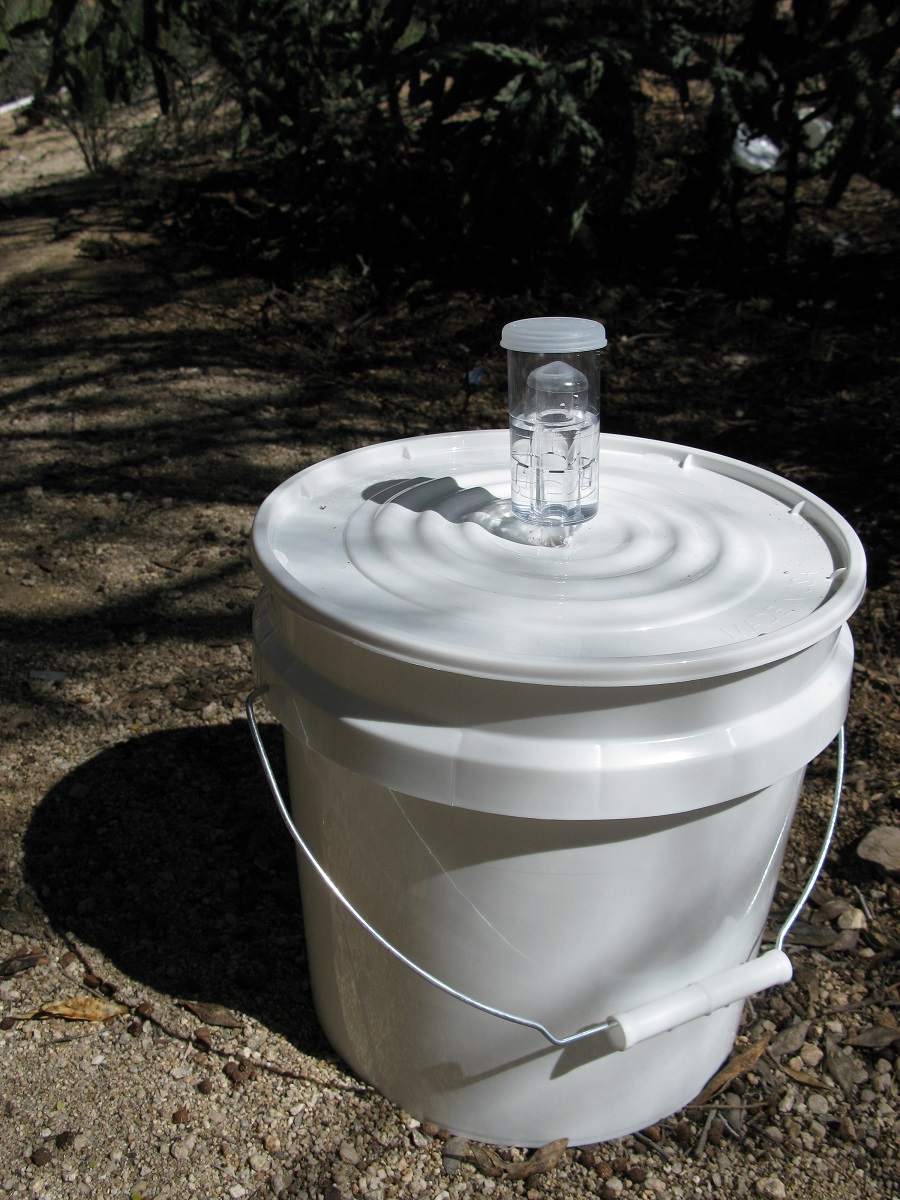
Once all the cabbage was in, we sealed the jar and waited. Sauerkraut has an important waiting step right in the beginning. During the fermentation process, it is important that the cabbage is submerged in liquid. This liquid is mostly released from the cabbage itself, drawn out by the salt to create a brine solution. Depending on the cabbage used, this is often enough liquid to completely submerge the cabbage.

IMG_2832_Small(Click to see larger Image)

In our case, the cabbage was a bit dry, so we had to add a little brine, made by mixing 1 ½ tablespoons of salt with a quart of water, and add that until the cabbage was fully submerged. To keep it from floating, we added zip-lock bags filled with water on top of the cabbage.

At this point, all that is left to do is wait several months for the sauerkraut to mature!

~The Homesteading Hippy

Simple Lacto-Fermented Onions

My favorite type of pickling is lacto-fermentation, where bacteria break down sugars and produce lactic acid. These bacteria are not only incredibly healthy (they’re the same type that folks eat Greek yoghurt for) but they also add flavour to the food. It’s been a while since I’ve done any pickling, and I believe the last time was when I made corned beef right when I first started this blog.

Let’s start with a bit of biology. Normally, when critters, including us, use sugar for energy they need to take in oxygen to use in the reaction, and produce carbon dioxide. When the oxygen supply is cut off, the process comes to a screeching halt. For some organisms, lack of oxygen is no problem because they use a process called fermentation, which is simply the breaking down of sugars without using oxygen. We can use fermentation for short periods of time, when we are using lots of energy (say while sprinting) and can’t take in enough oxygen to supply all of the energy we need.

2-Onions

(Click to see larger view)

Yeast performs one of the best-known forms of fermentation. They break down sugars and release ethanol (alcohol) and carbon dioxide. For obvious reasons, this is called ethanol fermentation. Lacto-Fermentation, or lactic acid fermentation, is similar, except that the byproducts are lactic acid and carbon dioxide. This is the type we use when we sprint. Lactobacillus, the bacterium that makes yoghurt, also uses this reaction.

1-Fermentation_Bucket(Click to see larger view)

To begin with, I built a new fermentation bucket. This is a food-grade two-gallon bucket with an airlock in the lid. The airlock allows carbon dioxide to leave the bucket, because the lid would pop off if the gas built up pressure inside. It also prevents oxygen from the outside air from entering, because as we covered, fermentation only occurs when there is no oxygen available.

We shredded six onions, three red and three white. I used this ratio before and liked the result, so I’m sticking with it. Using a mandolin makes the process quick and easy. Here’s Ace slicing onions.

4-Mandolin(Click to see larger view)

In the meantime, I prepared three quarts of brine. I got the salt/water ratio from this website, except that I used ice cream salt for one of the quarts and sea salt for the rest. The reason to use salt is that we don’t want ethanol fermentation in this recipe. Yeast is killed by salt, while Lactobacilli thrive in it. This is a simple way of selecting which form of fermentation we want. You can add spices, but I prefer not to, so that I can use the onions in any recipe I want.

5-Sliced(Click to see larger view)

The onions go into the bucket and are covered with brine. To keep the onions submerged, place a plate over he onion and press down. It is important to keep the onions submerged to keep it from spoiling. Next, place the cover tightly on the bucket, and let it stand.

6-Sunk(Click to see larger view)

The process can take over a month, so I will check on it every now and again. The easiest way to see that the reaction is occurring is to watch the airlock. If air is bubbling out you know that there is fermentation occurring.

~The Homesteading Hippy

Sourdough Pizza?

I was going to get home late last night, because of an Aikido class, so I didn’t want to cook dinner after I got home. So, I found a recipe for sourdough pizza. This solved two problems for me. One: What’s for dinner? Two: What am I going to do with the cup of sourdough I discard during every feeding? It turned out quite good, although next time I’ll make it a bit thinner. Continue reading

My Corned Beef Worked!!!

Two weeks ago, I started a batch of corned beef. As I mentioned, this was a continuation of experiments with fermented foods. I have created sauerkraut and pickled onions using this method, and I figured corned beef would be fun to try. I’ve been checking in on the meat every few days, looking for signs of spoilage (mold, funny smells, etc.) Yesterday, I decided it was time to try cooking and eating the product. Continue reading

More Ginger Ale

I just finished a 1-gallon (4-liter) jar of pickles, so I decided to make my largest batch of ginger ale so far. If you’ve seen my previous post on ginger ale, you know that this recipe involves fermenting the ale long enough to flavor it and to carbonate the drink, but not long enough to make it alcoholic. I tweaked my old recipe after I tasted it, and I would like to share my updated recipe with you all. Continue reading

A Bounty of Breads

Today, I tried to see how much bread I could possibly bake in one day in my tiny oven. I estimated that I could do about six loaves in a day, and that turned out to be spot on. I tried two loaves each of three types of bread. This was a neat experiment because I have never baked this much before, and i hadn’t done any of these breads before either. Continue reading

Corned Beef Update (Day 3)

Hi everyone! I just checked in on my corned beef, which was due to be turned over today. It’s looking amazing! The first thing I notice when I opened the lid was that the liquid had turned from clear to beautiful deep brown. This is interesting, but probably just an effect of meat juices oxidizing.  I didn’t see any floating mold, which is promising. With veggies, mold like that can just be skimmed off, but I would be paranoid with meat. Does anyone have any experience with this? Continue reading

Yummy Sourdough Bread

Alright. So you’ve got a sourdough starter, and you’ve been feeding it religiously for a few days. Now, it is time to bake delicious sourdough bread. I got a bit creative this time, adding flaxseed, but this is essentially the recipe I’ve been using for sourdough. Sourdough is a bit different to work with than bread made with baker’s yeast, but it is well worth it. The biggest difference is the amount of time it takes. You have to plan ahead to bake sourdough bread, since it rises more slowly. You also want to give it time for that delicious sourdough flavor to develop. The advantage is that sourdough tastes amazing, you don’t have to keep purchasing yeast, and it keeps much better, letting you bake more bread in advance and reducing waste. Continue reading

Feeding a Sourdough Starter

Later today, I will post a recipe for sourdough bread. First, however, I would like to talk about sourdough starters. In many of today’s breads, we use baker’s yeast to make the bread rise. This works well, because while the yeast munch away on the sugars and starches present in flour, they give off carbon dioxide, creating gas bubbles in the dough which rise the bread. While baker’s yeast is a pure strain of factory-cultured yeast, sourdough is a culture of wild yeasts and bacteria that occur naturally on flour. The bacteria acidify the dough, giving it a characteristic flavor and preserving the bread. By using a sourdough starter, you no longer have to buy commercially produced yeast. Also, sourdough bread keeps much longer than yeast bread, so you don’t have to bake as often to be able to eat healthy, fresh bread. Continue reading